If you’re a designer, someone who writes, or a person who needs something different in your work which includes many texts, then you’ll appreciate customized fonts. The default fonts available with the PC don’t offer many options which are why you search for customized fonts in the end. The first thing to do is ask about the issue of finding free fonts on the internet? We’ll look at Free Fonts Lab will assist with that, or if you look up search engines and there are a variety of sites that give you a wide selection of fonts. Let’s look at the subject How do you set up fonts in Mac?
Simplest Method
Once you have downloaded a font let’s say Marvel Font. It was downloaded in a format of zip. Double-click on the file to be unzipped instantly. The fonts generally come in .ttf ( TrueType Font) or .OTF (OpenType Font) format. Select the font file. The font will appear as shown in the image below.
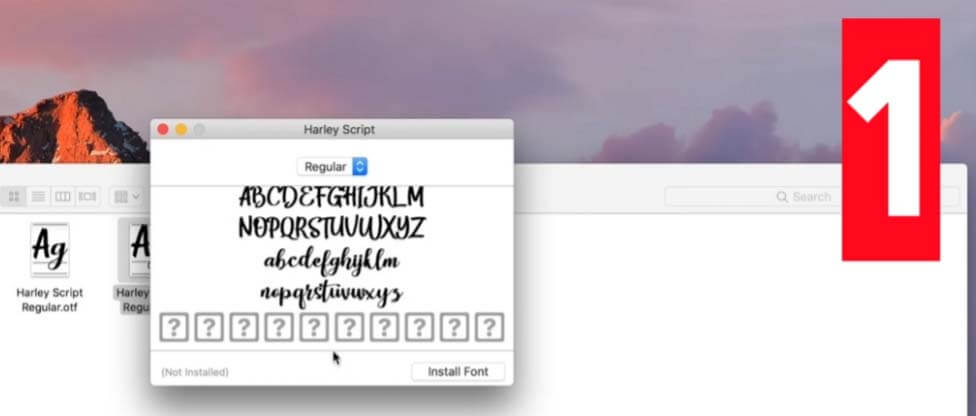
Click on the font files
Click the Install button down on the right corner. It is marked in the picture below.
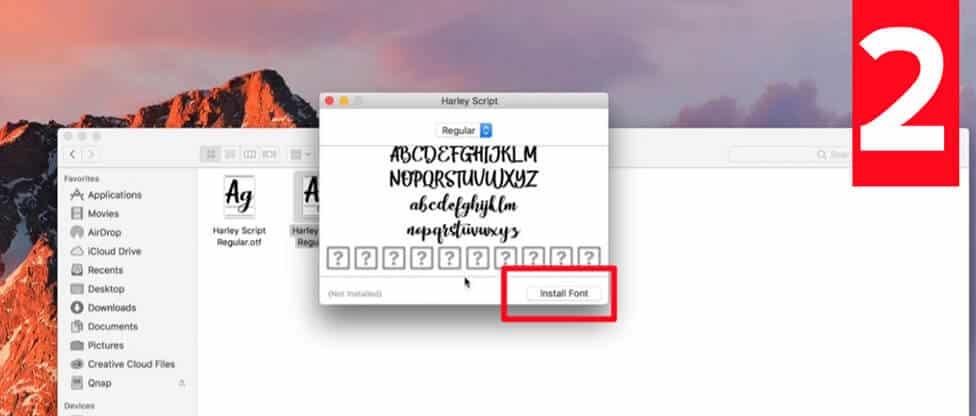
Click the “Install Font” button
The font you’ve installed is installed. Let’s say, however, you have multiple fonts. 2 Maybe? The process of installing and opening every font you have for this amount isn’t messy. However, what happens when you have more than 10, or even 100? What do you do? Let’s go to the next step.
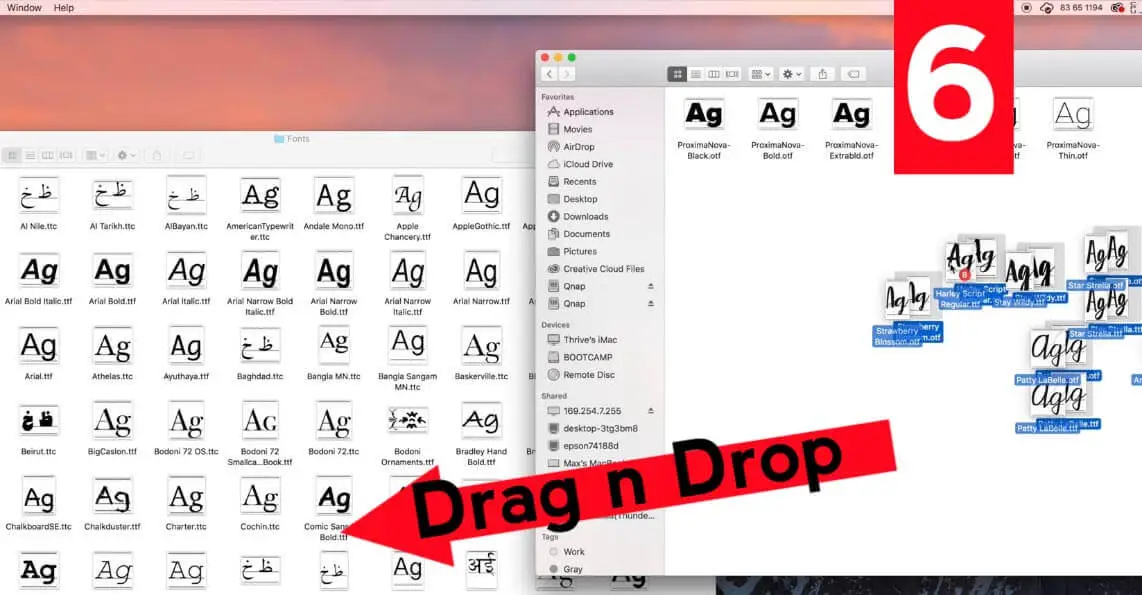
Drag and Drop Method / Copy-Paste Method
This is great for installing several fonts. It is time-saving and is a more efficient method to install several fonts. It is also very simple to do. We’ll dive into the subject “How to install multiple fonts in a Mac PC?”.
After you have downloaded the file for fonts, you will are aware of the next step that I mentioned earlier. Unzip the file. Open all the fonts contained in the zip file. You can then minimize the window or drag it down to smaller sizes. After that, click GO at highest point of your page. Press the option button.
There are a variety of choices. Don’t worry, just scroll down and select Go to Folder.
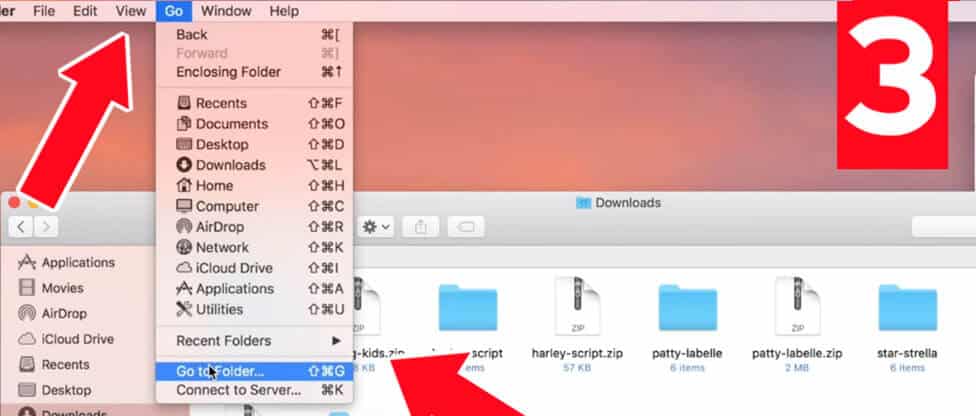
Click Go to Folder
Type this code in /Library/Fonts/ and click go.
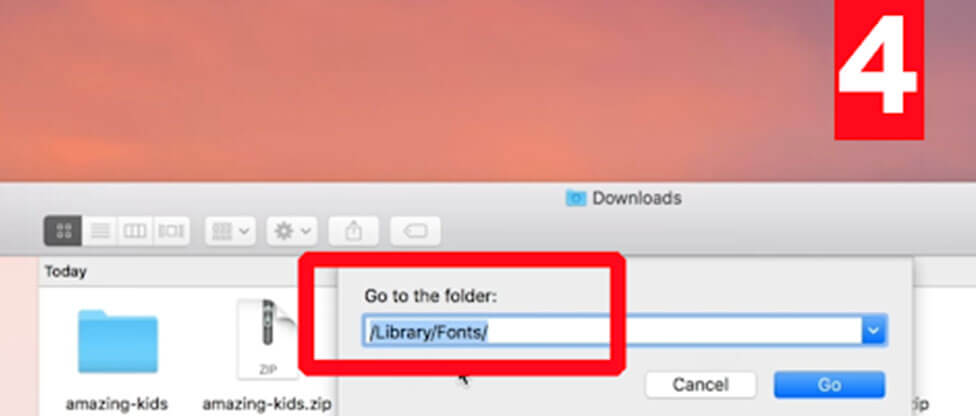
Type The Code
This is your system-wide font directory. It is where you can download all your preferred fonts for your entire system. All of the fonts you’ll see there are the default fonts that came with your Mac.

Take a look on your sidebar. There will be a folder for downloading. Right-click the download folder (where the fonts you downloaded are) and then click open in the new window. Double click the zip file, and it will unzip. Select all fonts and drag them into the second window, where the font folder of your system is opened. Drop all the fonts into the folder. They will be installed immediately. Or, Choose the files to copy them, and then paste them into the folder.
All your fonts have been installed properly. Simply restart your word program or editing tool. It will locate your fonts. Another method to ensure is to use the search function in the upper right-hand corner of the screen. Find your font if you locate it. The font is properly installed.
Be aware that the first option only installs fonts for the Mac user that you’re currently connected to your computer. If you have several users using your PC You must install the font separately for each user.
However, after the second method, the fonts will be added to the system at a global level, to all users.