If you’re a designer, writing person who needs to have a variety of work, which is stuffed with many texts, then you’ll want customized fonts. The default fonts included with the PC don’t offer many options which are why you search for custom fonts later on. In the beginning, you’ll have an issue with how to locate free fonts on the internet? This is where Free Fonts Lab can help with that, or if you browse through search engines and you’ll find plenty of websites that can give you a wide selection of fonts. Let’s get into the issue How do you set up fonts for Windows PC?
Two methods will be discussed in this article. The first is easy and useful for just one or more fonts. The second option is for multiple fonts. This is an efficient method of saving time.
Easy Method
When you downloaded the fonts you’ve already discovered that they’re stored in zip file format. To unzip, right-click on the file and then select extract it from the options. You’ll need an application like Windows-Zip or WinRAR. The first is a paid version, while the second option is free. If you already have them installed, you don’t require to install them once more.
After you have unzipped the file, you’ll be able to find the files with.ttf (TypeFace Font) or.OTF (OpenType Font) format. Choose a font, right-click and select install. The typeface will install. It’s that easy. Check out the following images:
Right Click-
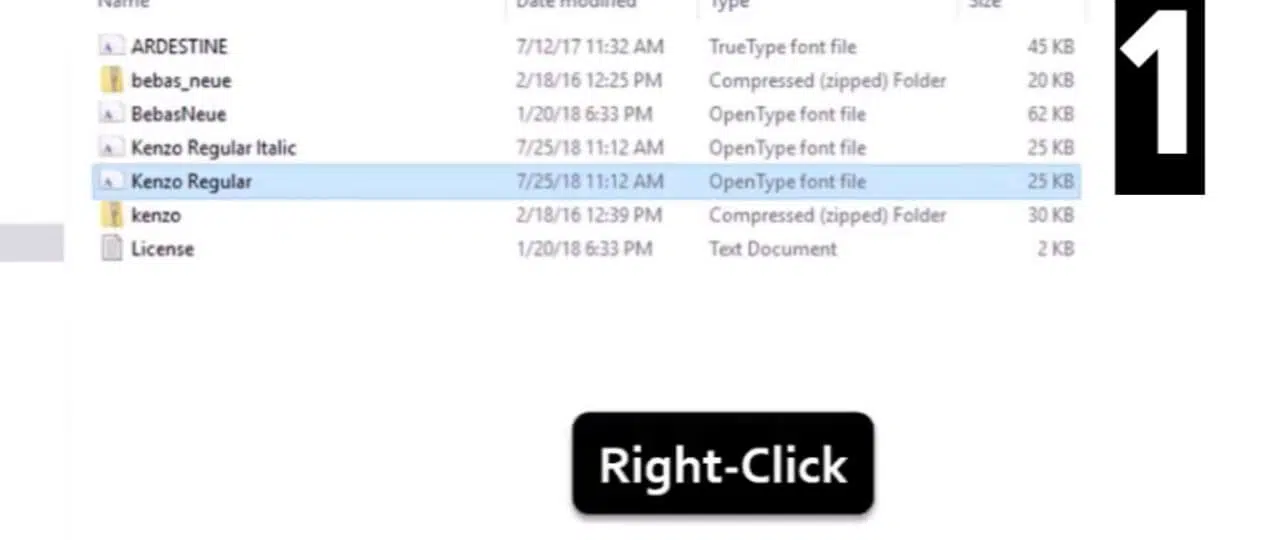
Right Click On The Font-
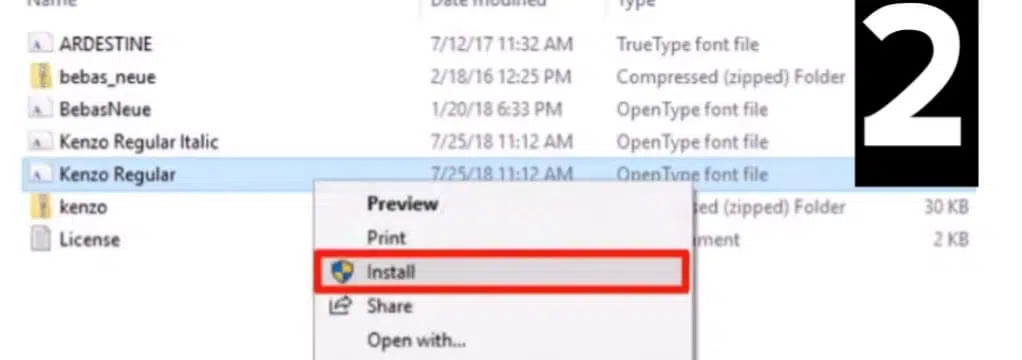
Click Install-
Now, the system will Install the font –
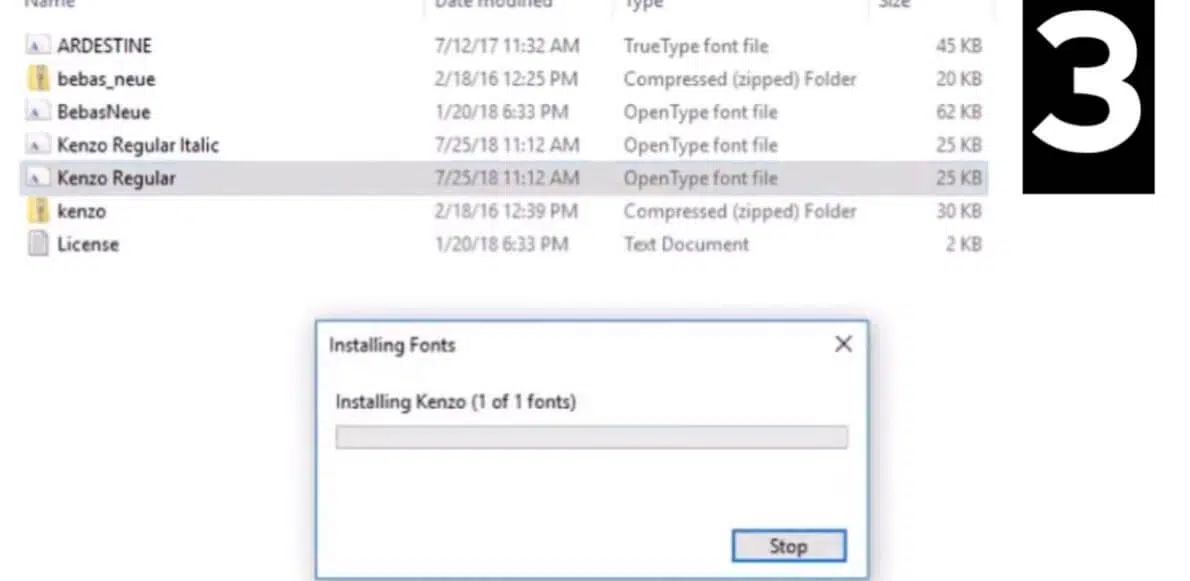
Installing Fonts-
Drag & Drop/Copy & Paste Method
This is an extremely useful technique that solves an important issue, “How to install multiple fonts on windows”. This is a step-by-step guide on how to follow. Make sure to remember that this procedure is universal for every Windows computer. If you’re using Windows XP, Windows 7, Windows 8, or Windows 10 This method works for all versions of windows available.
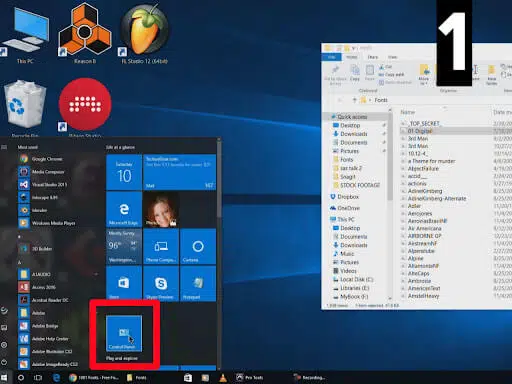
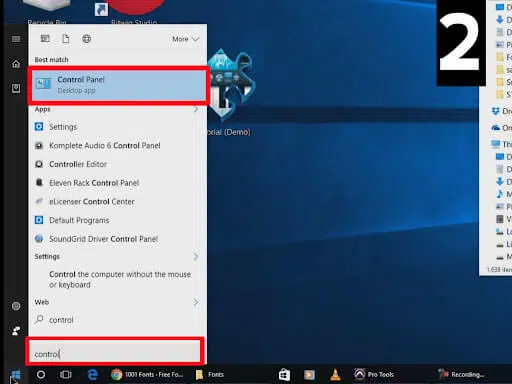
Go to the Start Menu > Go to the Control Panel. If you can’t locate your control panel within the menu at the beginning, type the control menu in the search option. You’ll get it.
Click Install-
Or
Your control panel might look different from mine, but they are identical. This is a screenshot from Windows 10.

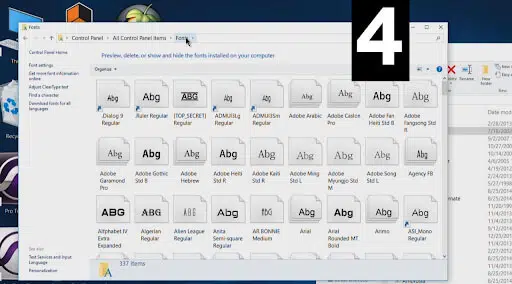
Then, go to the upper right corner of the screen and you will see where the search function is. Enter the Fonts and then press Enter. The results will show the fonts folder in the system. Open it. The folder will look similar to this, with all the fonts on your PC:
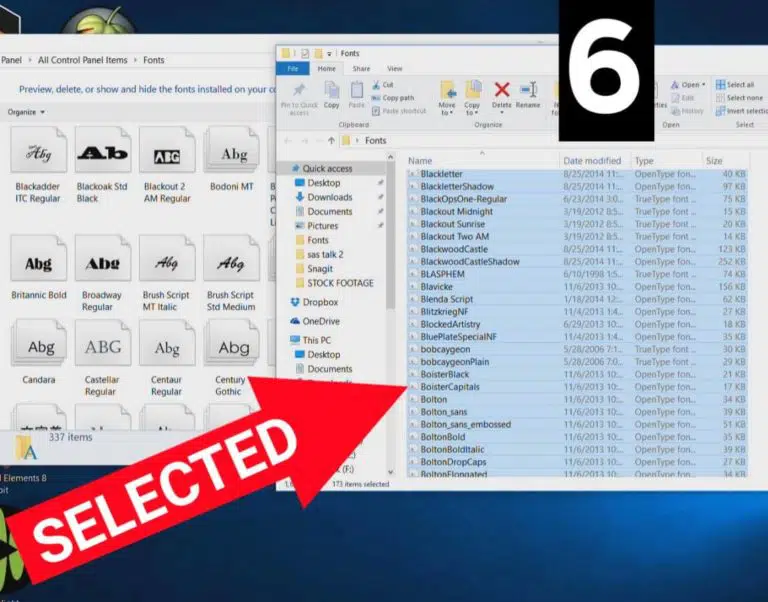
Minimize the previous window. Then, go to the folder in which all your saved fonts have been. You may find fifty-plus fonts. However, I have over 1,000 fonts in my folder, which is shown in the following image.

Select all the fonts by using the mouse or by using the keyboard shortcut. Ctrl+A for selecting all the files, Ctrl+C copy them.
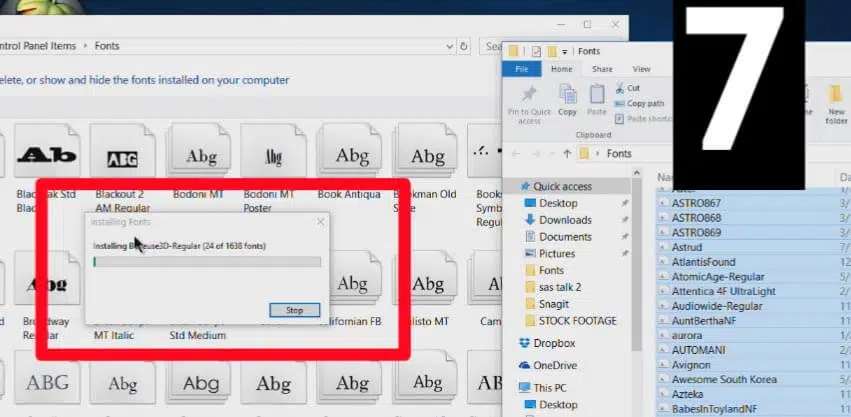
After that, go back in the Fonts folder. Paste the items you have selected there by pressing Ctrl+V. Or Drag the items by using the left mouse button just hold the mouse, place them into the Fonts folder. Release the button. An installation window will pop up and the fonts you have downloaded will be set up in just a few minutes.
Congratulations! You’ve successfully installed custom-made fonts to your Windows computer. Thanks for taking the time to read. For any concerns, contact us immediately.